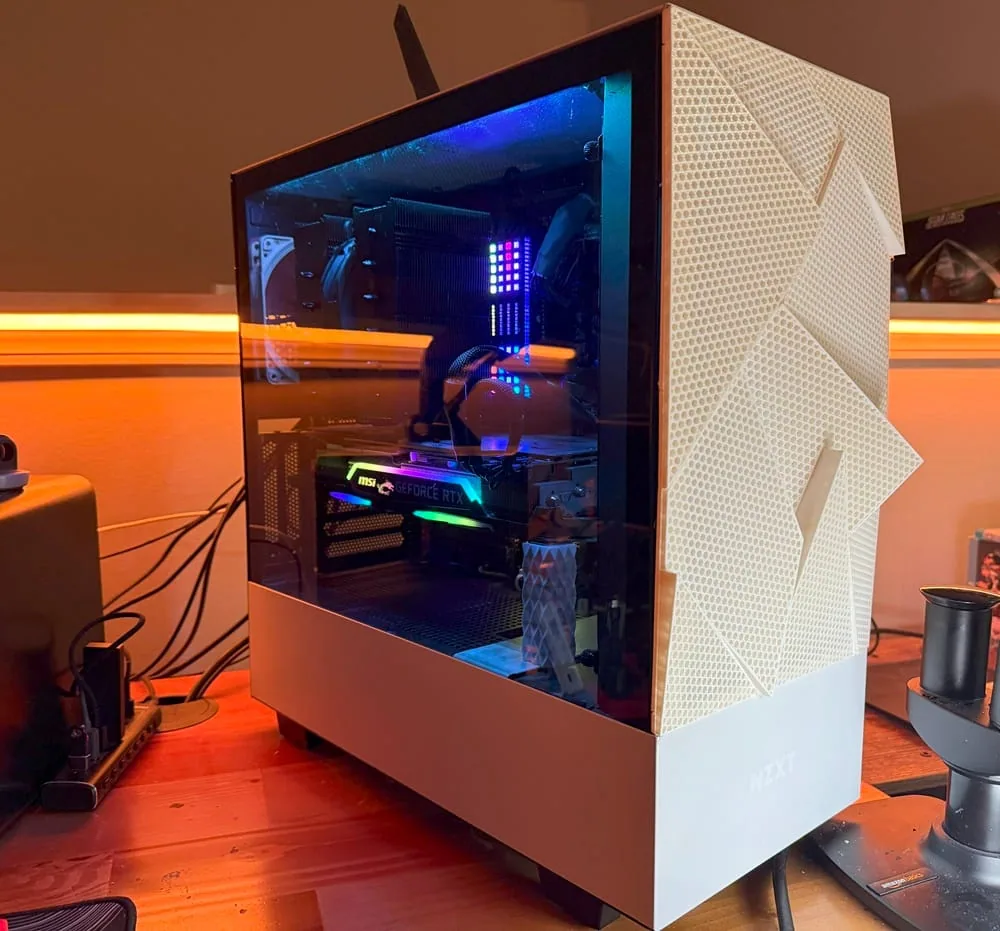
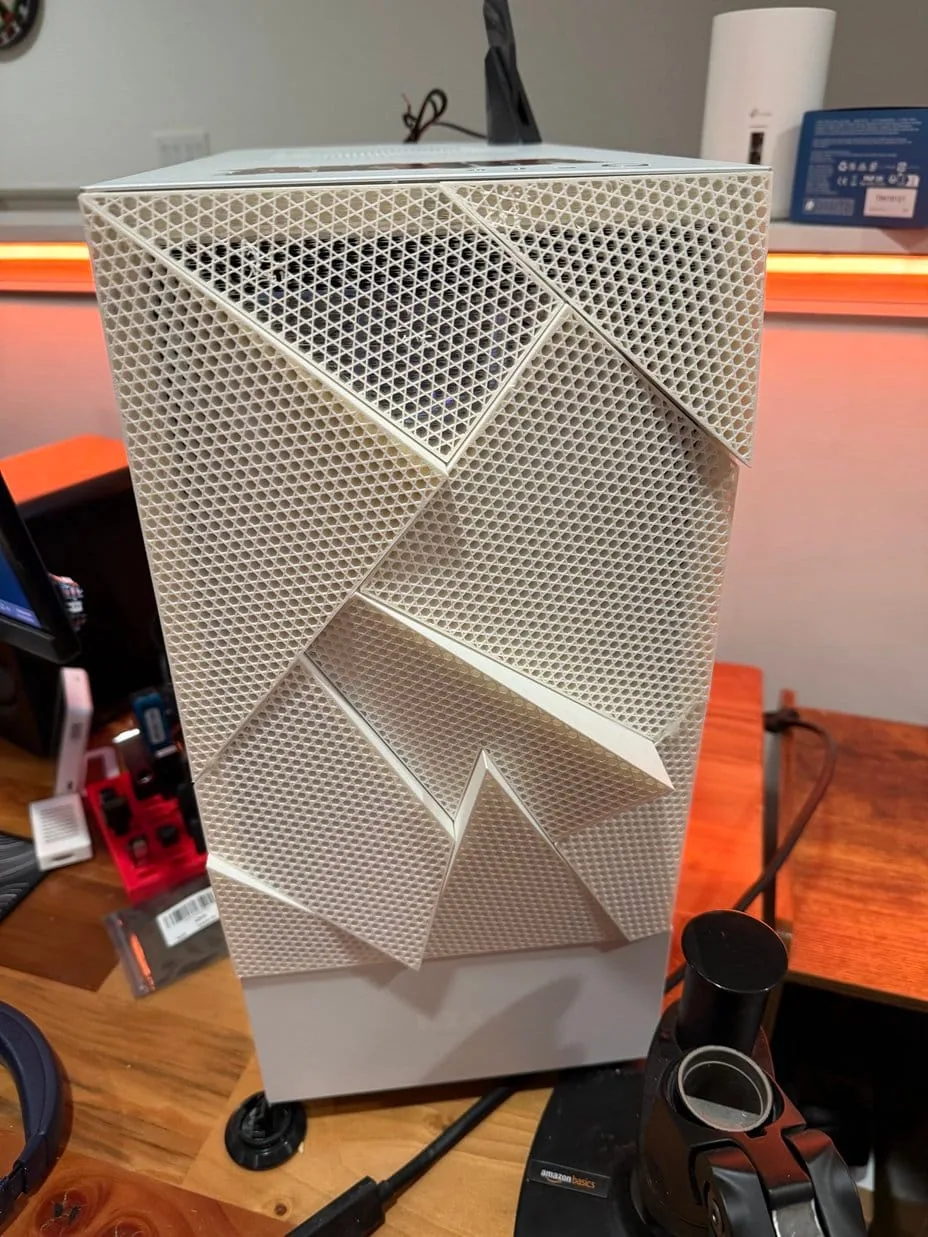
If you’re looking to improve airflow for your NZXT H510 Elite case while adding a custom aesthetic, this 3D-printed low-poly front mesh panel is a great project. I designed a frame and assembled the rest of the pieces using hot glue. Once printed, all the parts fit together like a puzzle for an easy and satisfying build.
? Download the 3D Files on Thingiverse: https://www.thingiverse.com/thing:6975045

Step 1: Printing the Frame Pieces
You’ll need to print the following frame components:
- Side-L1
- Side-L2
- Side-R1
- Side-R2
- Top
- Bottom
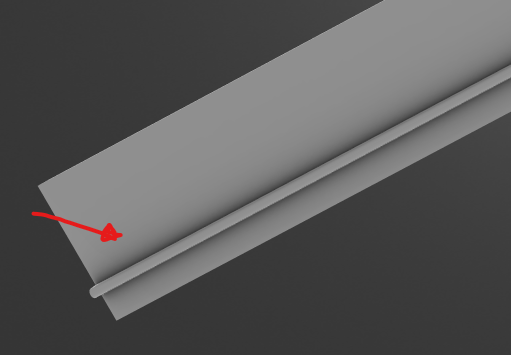
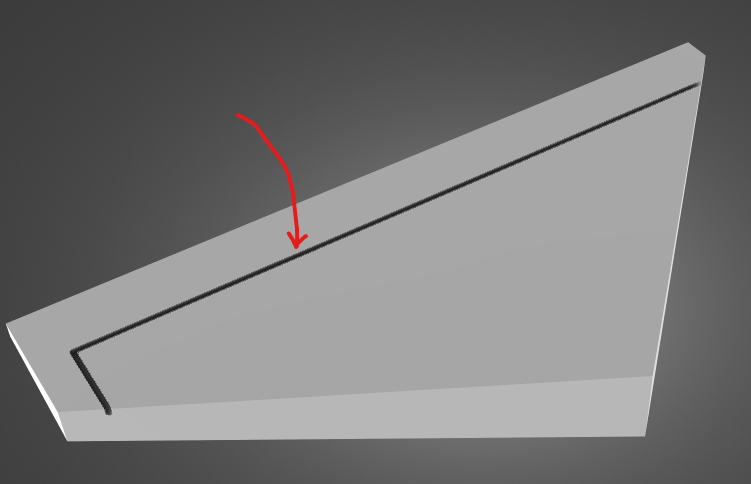
Printing Orientation:
- Ensure the flange is positioned on the top.
- The magnet holes should be facing downward.
When assembled, the flange should sit flush against the frame of the case.
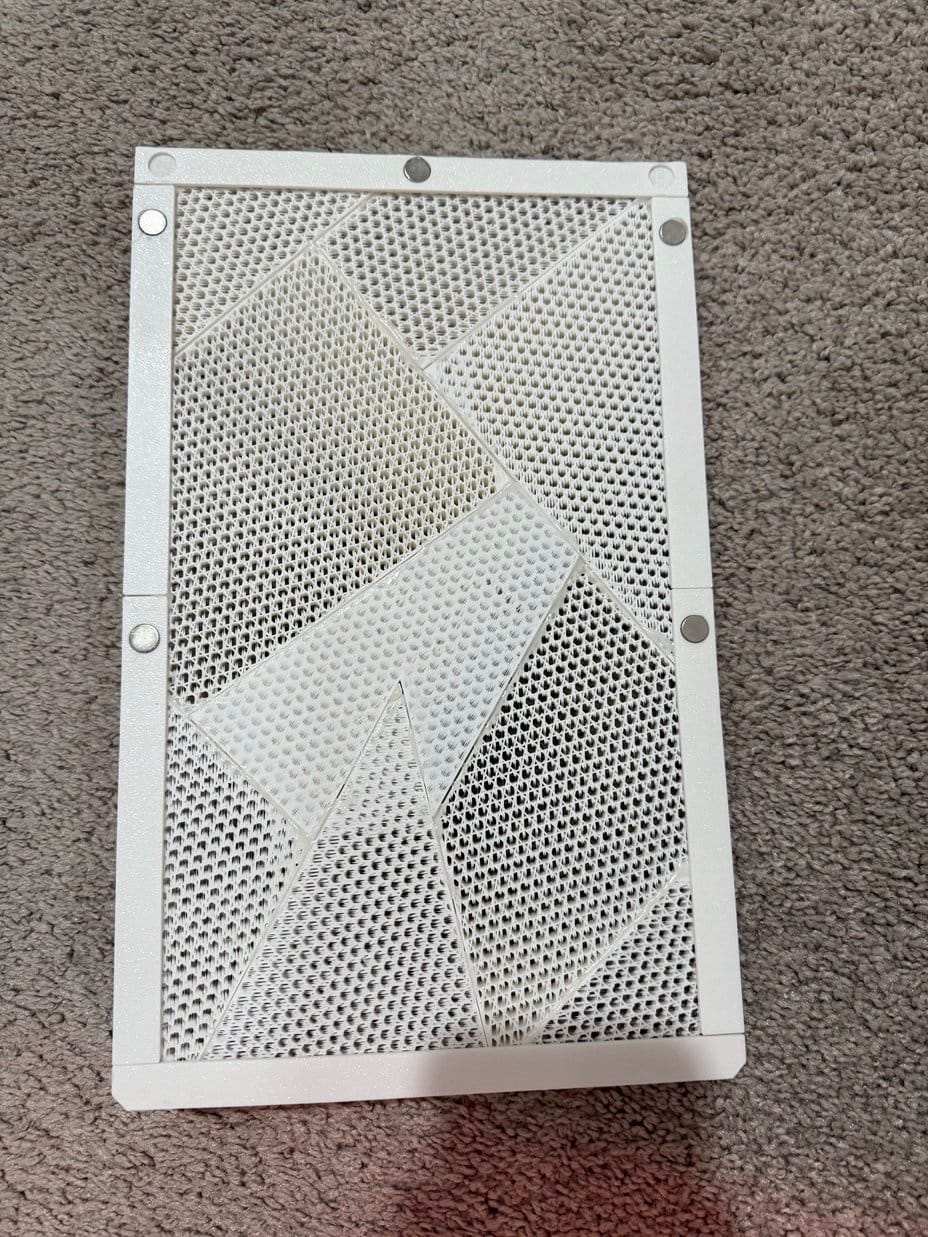
Step 2: Assembling the Frame
- Test Fit – Before gluing, dry-fit all the pieces together to ensure alignment.
- Apply Hot Glue – Once satisfied, glue each piece one at a time for a secure fit.
- Positioning the Polygon Pieces – The low-poly panels should fit along the flange.
Step 3: Printing the Low-Poly Panels
Next, print the polygonal design pieces labeled P1 - P9.
Printing Orientation:
- Print with the flange slot facing down.
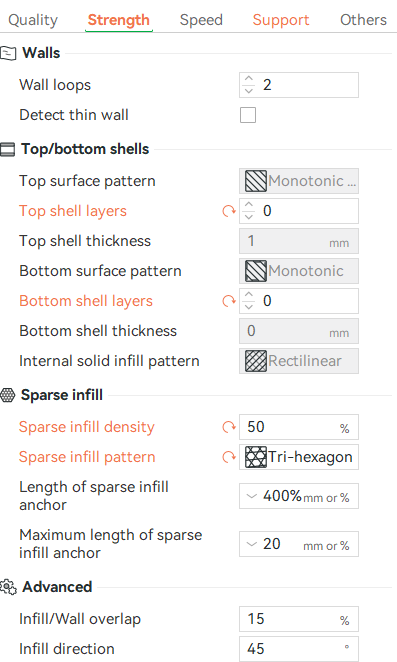
- Disable the top and bottom layers in your slicer settings (see below).
Print Settings for Bambu Labs Printers
- Open Bambu Slicer.
- Go to the Strength tab.
- Set Top Shell Layers and Bottom Shell Layers to 0.
- Choose a Sparse Infill Pattern for different mesh designs.
Shopping List
To complete this project, you’ll need the following:
- ? 10x1mm Magnets – Amazon Link
- ? 10x2mm Magnets – Amazon Link
- ? Hot Glue Gun – Amazon Link
- ? Super Glue – Amazon Link
This project not only enhances your PC’s cooling but also gives it a unique, custom look. If you try this build, share your results in the comments or tag me on social media!