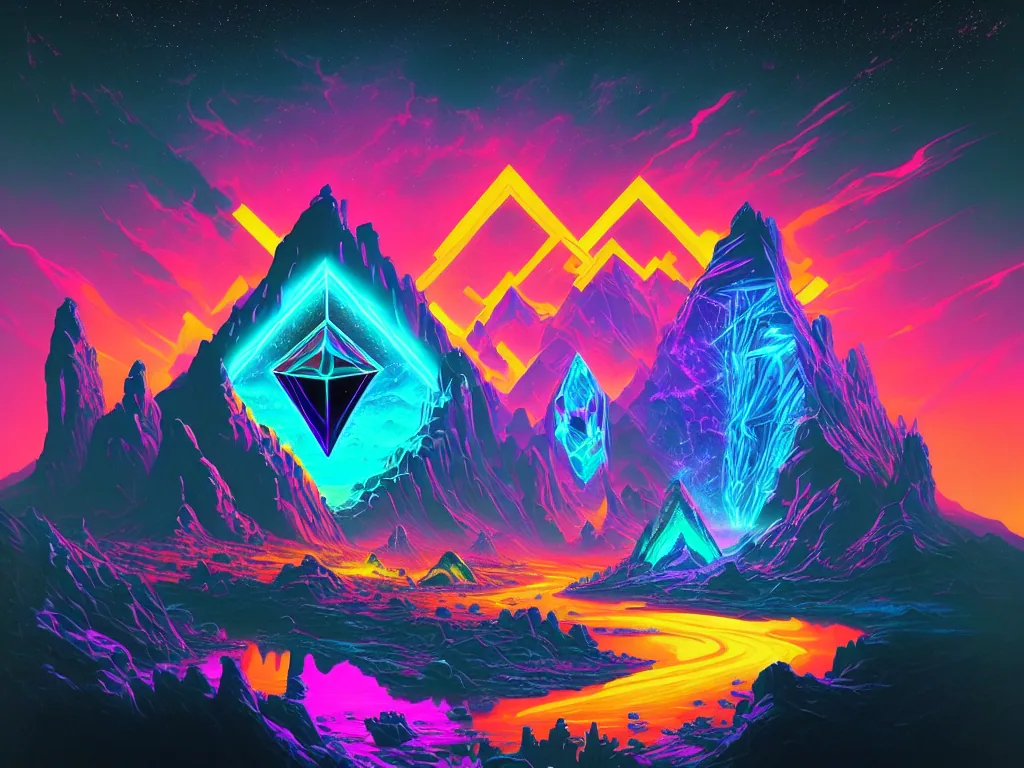
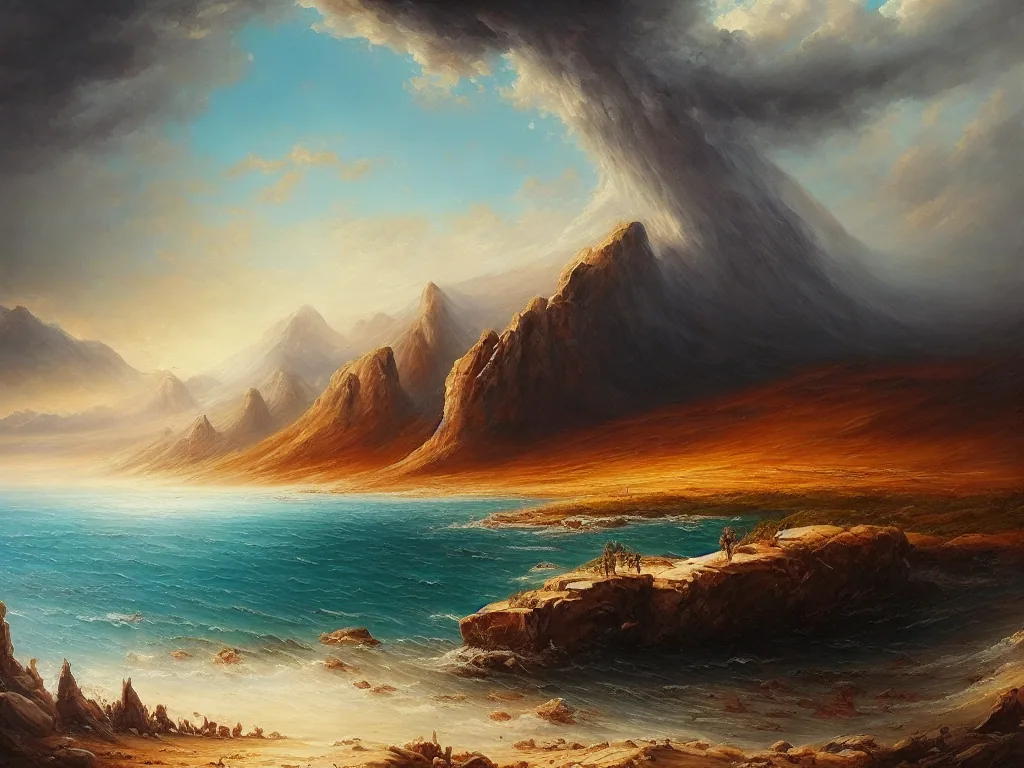
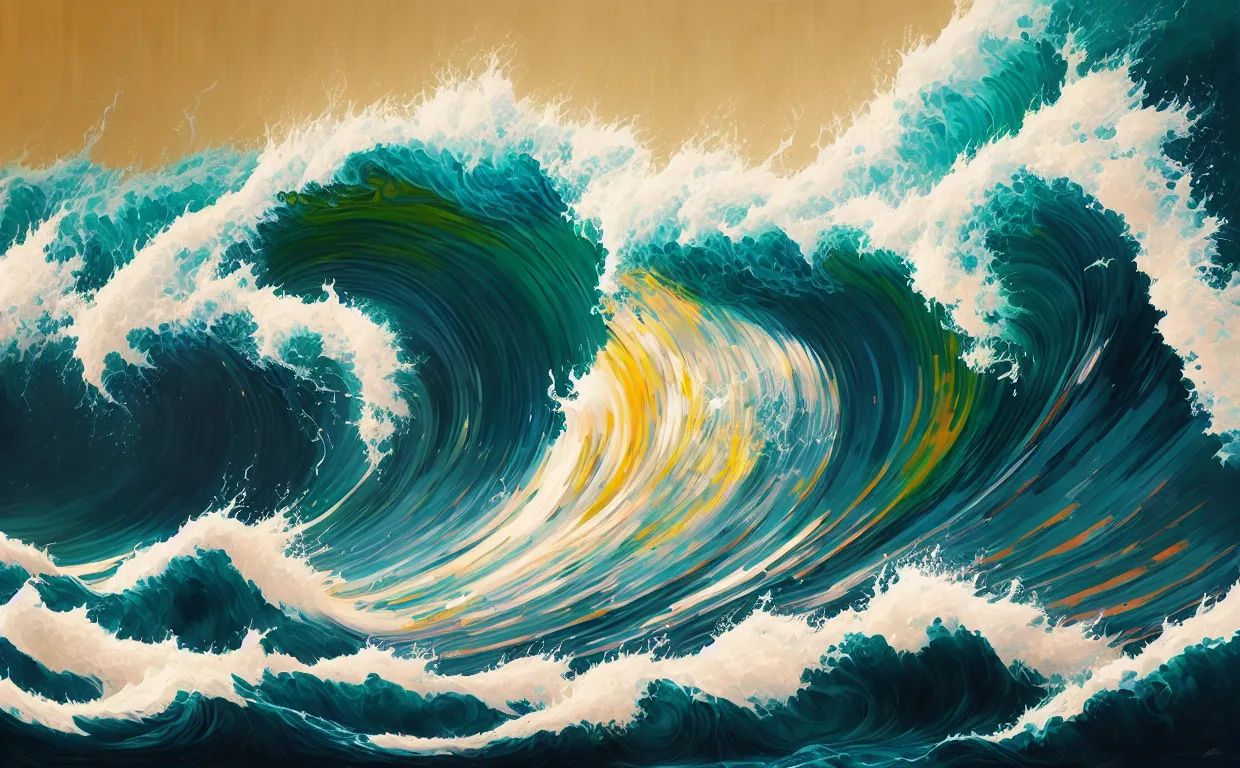
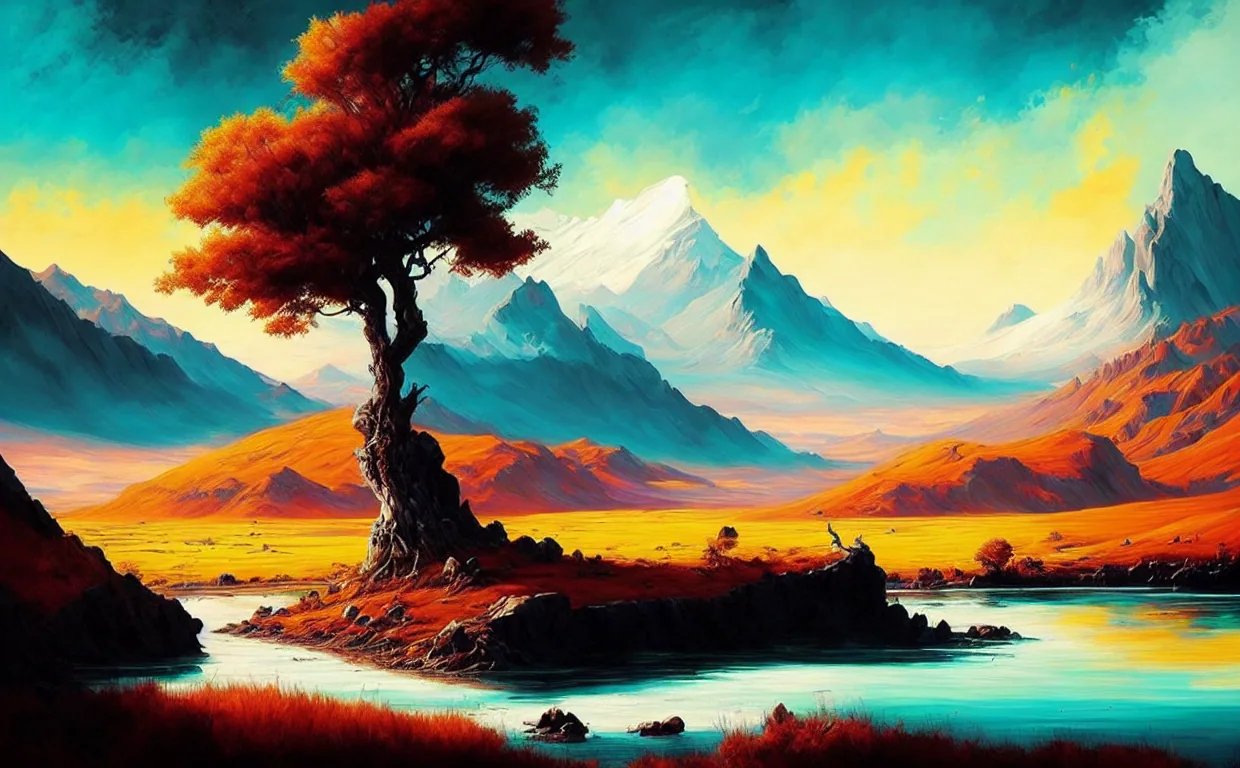
AI image generation has evolved from an exclusive technology to an accessible creative tool, and now you can harness its full potential right on your personal computer. This comprehensive guide will walk you through installing and configuring Stable Diffusion WebUI locally on Windows, eliminating subscription fees and cloud limitations while giving you complete control over your AI-powered creative process. By following these steps, you’ll be generating stunning, personalized visuals in no time. Below are some examples of images I’ve created recently using this exact setup.
Prerequisites
Before you begin, make sure your system meets the following requirements:
- Windows 11
- NVIDIA GPU (Check out the hardware buying guide for compatibility)
Prerequisites
Before you begin, make sure your system meets the following requirements:
- Windows 11
- NVIDIA GPU (Check out the hardware buying guide for compatibility)
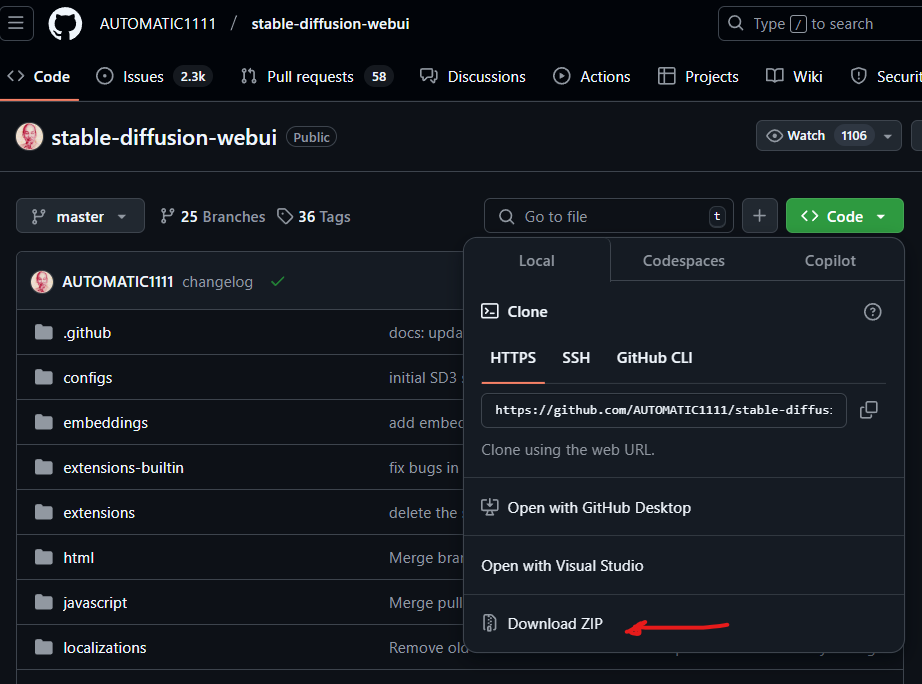
Step 1: Download Stable Diffusion WebUI
- Go to the Stable Diffusion WebUI GitHub repository:
Stable Diffusion WebUI - Click the green Code button and select Download ZIP, or clone the repository using Git:
git clone https://github.com/AUTOMATIC1111/stable-diffusion-webui.git
- Extract the ZIP file to an easily accessible location, such as:
C:\projects\stable-diffusion-webui
Step 2: Download a Model Checkpoint
For better image generation results, download a high-quality model checkpoint:
- Go to Dreamlike Diffusion 1.0
- Download dreamlike-diffusion-1.0.safetensors
- Copy the downloaded file into the following directory:
C:\projects\stable-diffusion-webui\models\Stable-diffusion
Step 3: Install Python 3.10.6
Stable Diffusion requires a specific version of Python:
- Download Python 3.10.6 from the official website:
Python 3.10.6 (Windows) - Run the installer and check the option “Add to PATH” before installing.

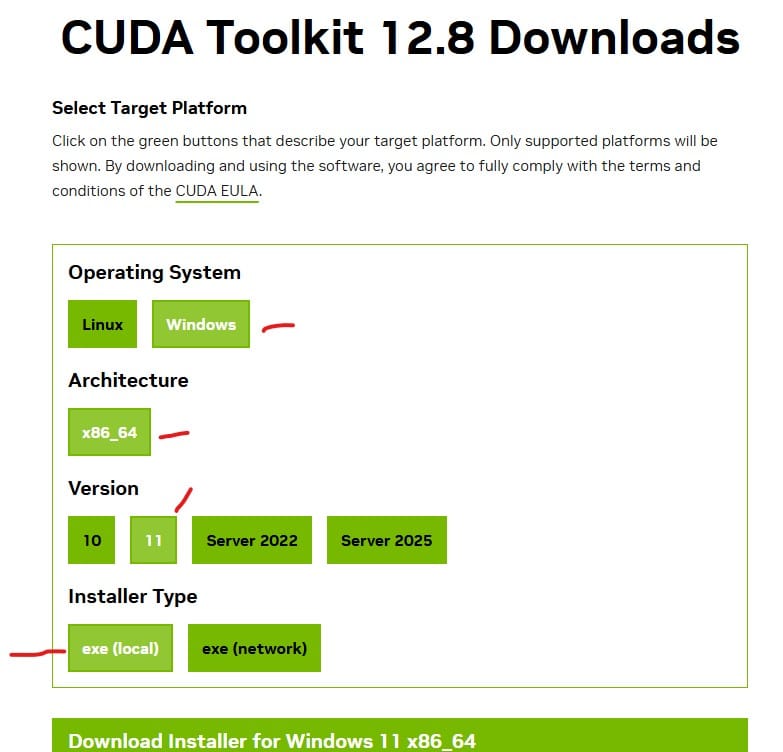
Step 4: Install CUDA for GPU Acceleration
To take advantage of your NVIDIA GPU, install CUDA tools:
- Visit the NVIDIA CUDA Downloads
- Download and install the latest CUDA version compatible with your GPU
Step 5: Install Git
Since the WebUI script will pull required dependencies, Git must be installed:
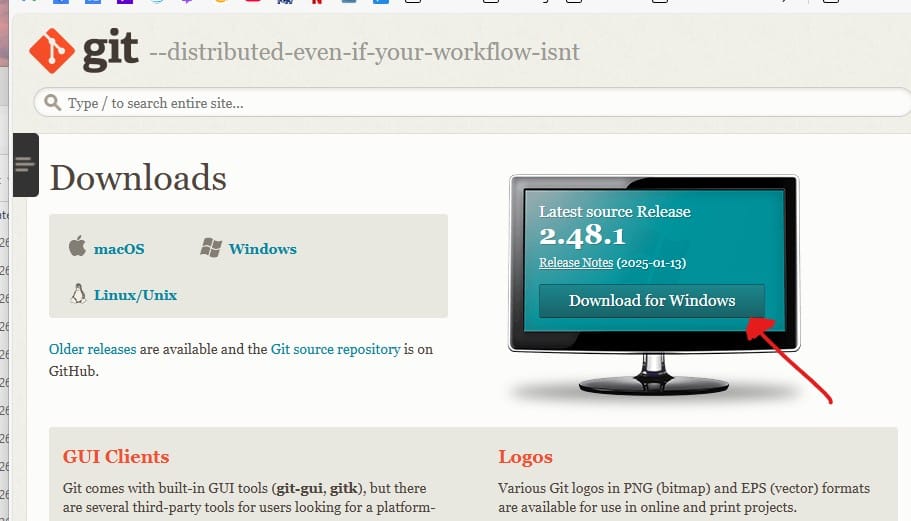
- Go to the Git for Windows page
- Click Download for Windows
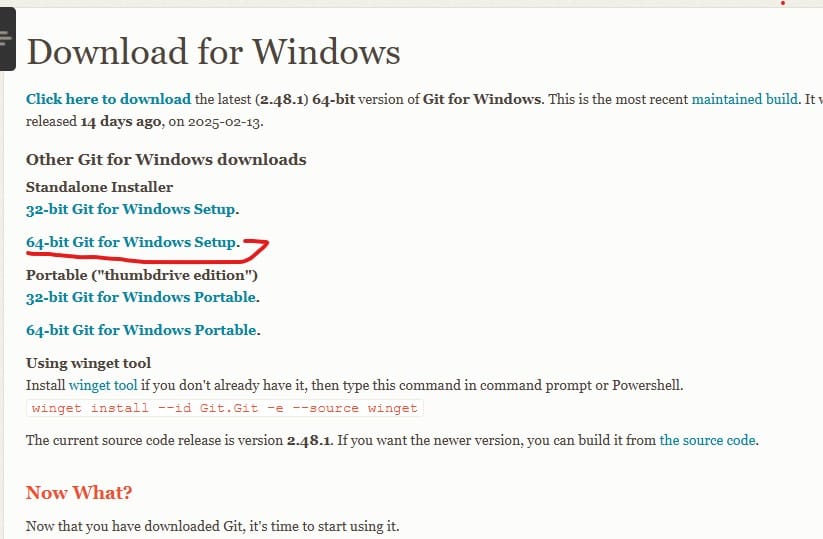
- Select 64-bit Git for Windows Setup
- Run the installer and follow the setup wizard using default options
Step 6: Run Stable Diffusion WebUI
- Run webui-user.bat by double-clicking it.
2. If prompted to run as administrator, allow it to proceed.
3. The script will automatically download required dependencies like PyTorch.
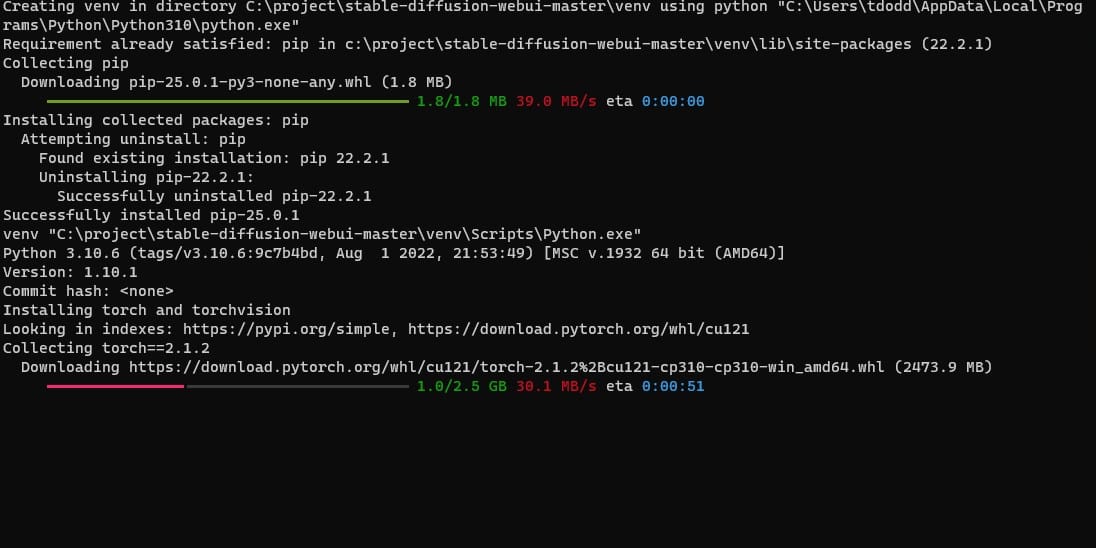
Once setup is complete, the WebUI will launch in your web browser.
Step 7: Generating AI Images
- In the WebUI, locate the Checkpoint selector in the top-right corner.
- Select dreamlike-diffusion-1.0.
- Use the Prompt section to describe what you want to generate. Example:
An epic painting of the Rockies, neon colors, large rocks, ocean, stars
- Use the Negative Prompt section to exclude unwanted elements. Example:
humans
5. Adjust the Width and Height settings:
- Recommended for this model: 1024 x 768
6. Experiment with other settings like:
- Batch Size: Number of images to generate per run
- Sampling Methods: Different rendering techniques
- CFG Scale: Controls how closely the image follows your prompt

Step 8: Fine-Tuning and Experimentation
Stable Diffusion WebUI has many advanced settings that allow you to:
- Generate multiple variations with different styles
- Use ControlNet for detailed image control
- Apply Upscaling for higher resolution outputs
Play around with the settings to get the best results!
With this setup, you can generate high-quality AI images locally using your NVIDIA GPU. Whether you’re creating digital artwork or just experimenting, AI-generated images offer endless creative possibilities!