Ensuring your devices are securely locked to a single app can be crucial for various business scenarios, from kiosks to dedicated work apps. However, it took me quite some time to realize that this functionality isn’t available out-of-the-box with Apple Business Essentials. Instead, you must create a custom XML document to achieve this. Don’t worry, though—I’ve got you covered with a step-by-step guide to setting up AppLock via a custom configuration file.
Step 1: Create a Custom Configuration File
Begin by creating a custom configuration file. Here’s an example of the final XML configuration:
<?xml version="1.0" encoding="UTF-8"?>
<!DOCTYPE plist PUBLIC "-//Apple Inc//DTD PLIST 1.0//EN" "http://www.apple.com/DTDs/PropertyList-1.0.dtd">
<plist version="1.0">
<dict>
    <key>PayloadDisplayName</key>
    <string>Single App Mode</string>
    <key>PayloadIdentifier</key>
    <string>com.myapp.kioskapp</string>
    <key>PayloadType</key>
    <string>Configuration</string>
    <key>PayloadUUID</key>
    <string>c6b32c07-7995-48a6-8023-472c950a9a9c</string>
    <key>PayloadVersion</key>
    <integer>1</integer>
    <key>PayloadContent</key>
    <array>
        <dict>
            <key>App</key>
            <dict>
                <key>Identifier</key>
                <string>com.c-konsult.kiosker-sub</string>
            </dict>
            <key>PayloadIdentifier</key>
            <string>com.myapp.myapplockpayload</string>
            <key>PayloadType</key>
            <string>com.apple.app.lock</string>
            <key>PayloadUUID</key>
            <string>a8e44168-8b12-40b1-8d7a-b59390d52ffc</string>
            <key>PayloadVersion</key>
            <integer>1</integer>
        </dict>
    </array>
</dict>
</plist>
Step 2: Update the PayloadUUIDs
- Change all the UUIDs: Each configuration file needs unique identifiers. Use a UUID generator like this one to create new UUIDs. Replace the existing UUIDs (
c6b32c07-7995-48a6-8023-472c950a9a9canda8e44168-8b12-40b1-8d7a-b59390d52ffc) with your newly generated ones. - Customize the Display Name: You can change the
PayloadDisplayNamefield to whatever you prefer, making it easier to identify the configuration later.
Step 3: Identify the App Bundle ID
To specify which app you want to lock in full-screen mode, you need to find the app’s bundle ID. Here’s how:
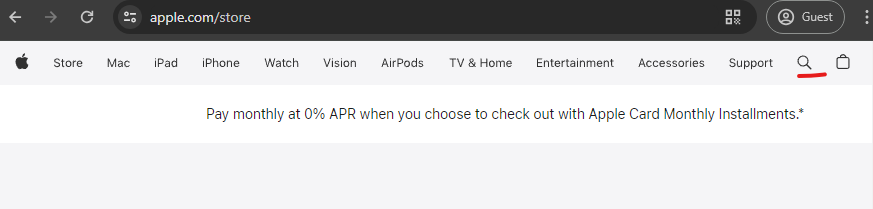
- Find the App in the App Store:
- Visit the Apple Store.
- Search for your desired app. For this example, we’ll use Kiosker.
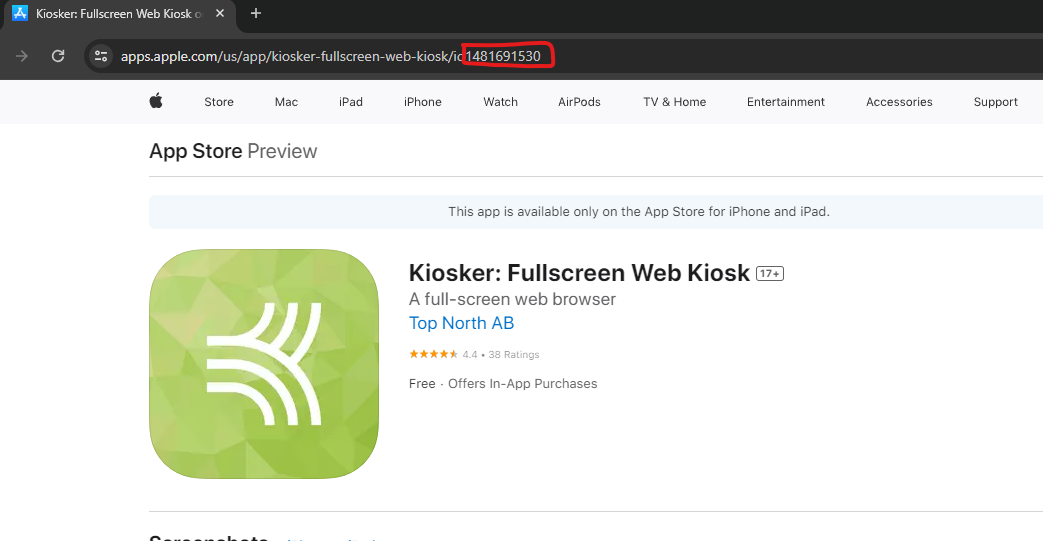
- Locate the App ID:
- In the URL, look for the app ID. For example, in
https://apps.apple.com/us/app/kiosker/id1481691530, the ID is1481691530.
- In the URL, look for the app ID. For example, in
Fetch the Bundle ID:
- Go to
https://itunes.apple.com/lookup?id=1481691530(replace1481691530with your app’s ID). - This will prompt you to download a text file. Open this file and look for the
bundleId.
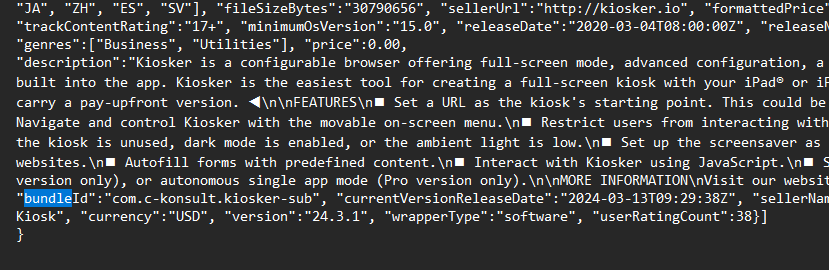
- Insert the Bundle ID:
- In the configuration file, locate the
App -> Identifier -> stringsection. - Replace the placeholder with the bundle ID you found. For Kiosker, it would be
com.c-konsult.kiosker-sub.
- In the configuration file, locate the
Step 4: Save the Configuration File
Save the updated configuration file with a meaningful name, such as applock.mobileconfig.
Step 5: Apply the Configuration to a Device
- Log in to Apple Business Manager:
- Go to business.apple.com and log in.
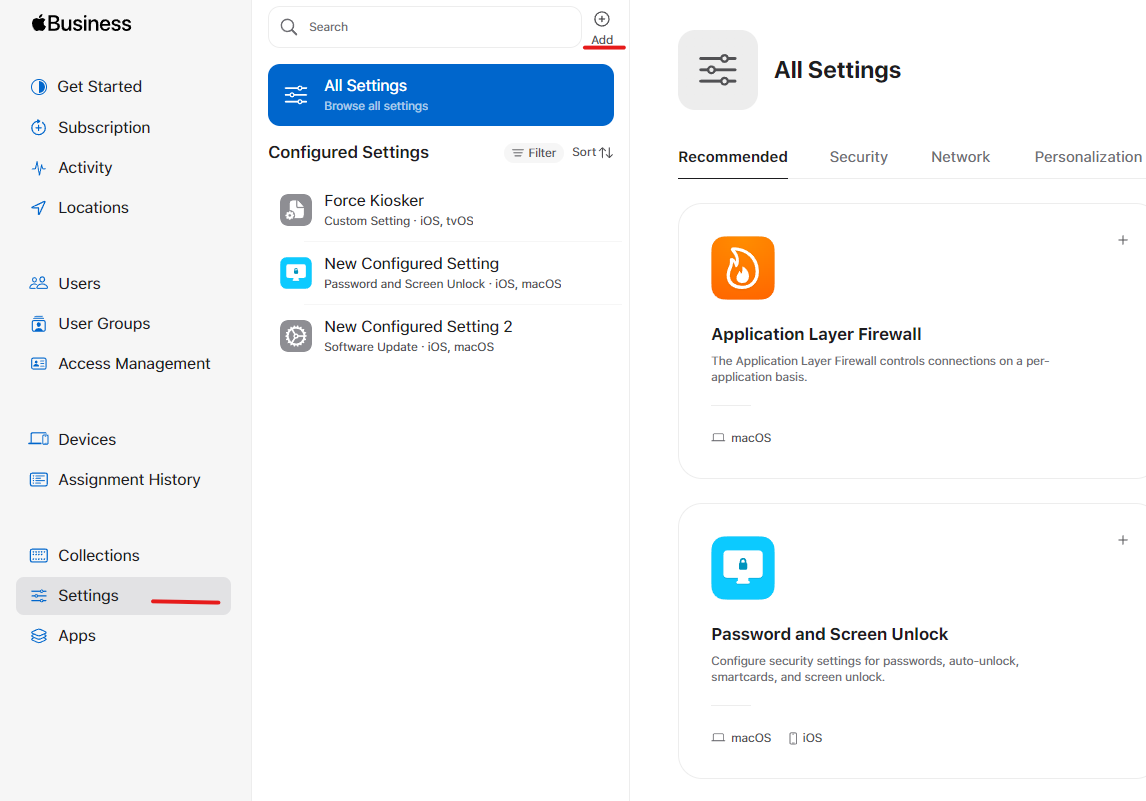
- Navigate to Settings:
- Click on Settings.
- Select Add and name the configuration appropriately (e.g., Locking App).
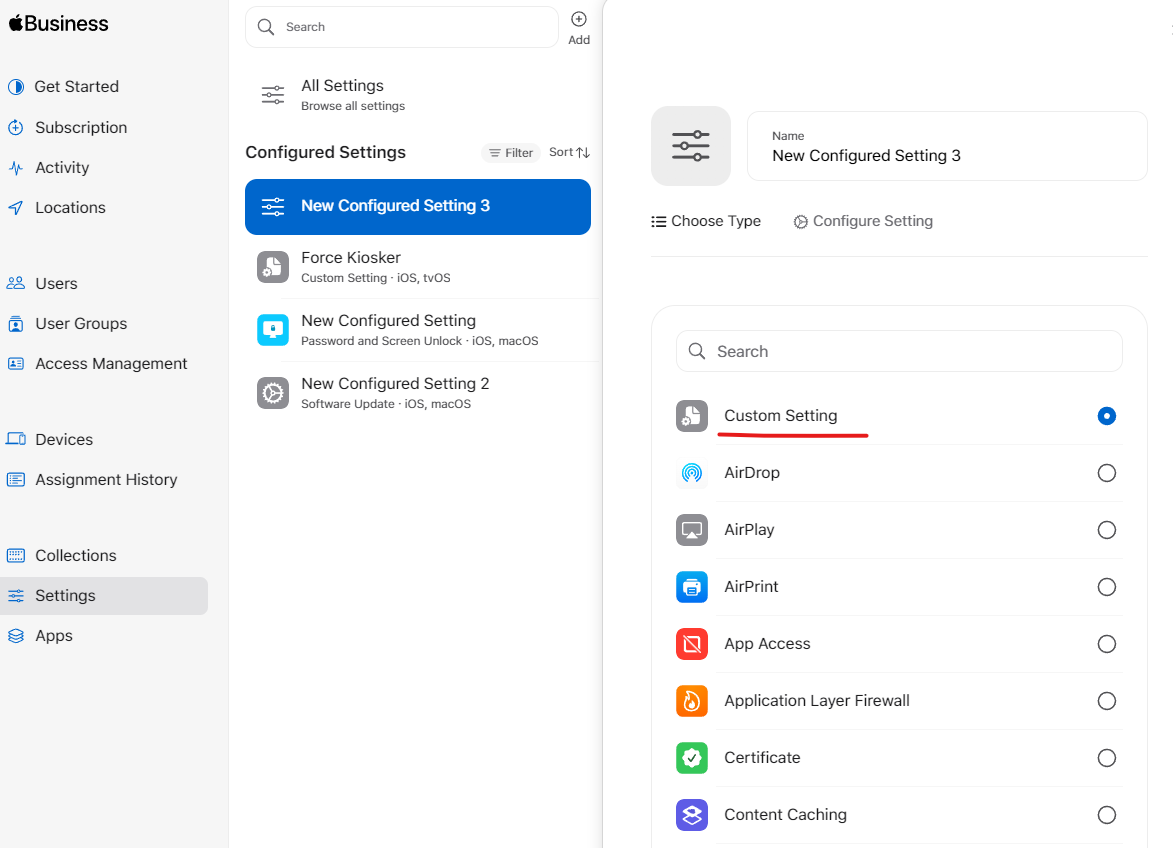
- Select Custom Setting:
- Choose Custom Setting and click Next.
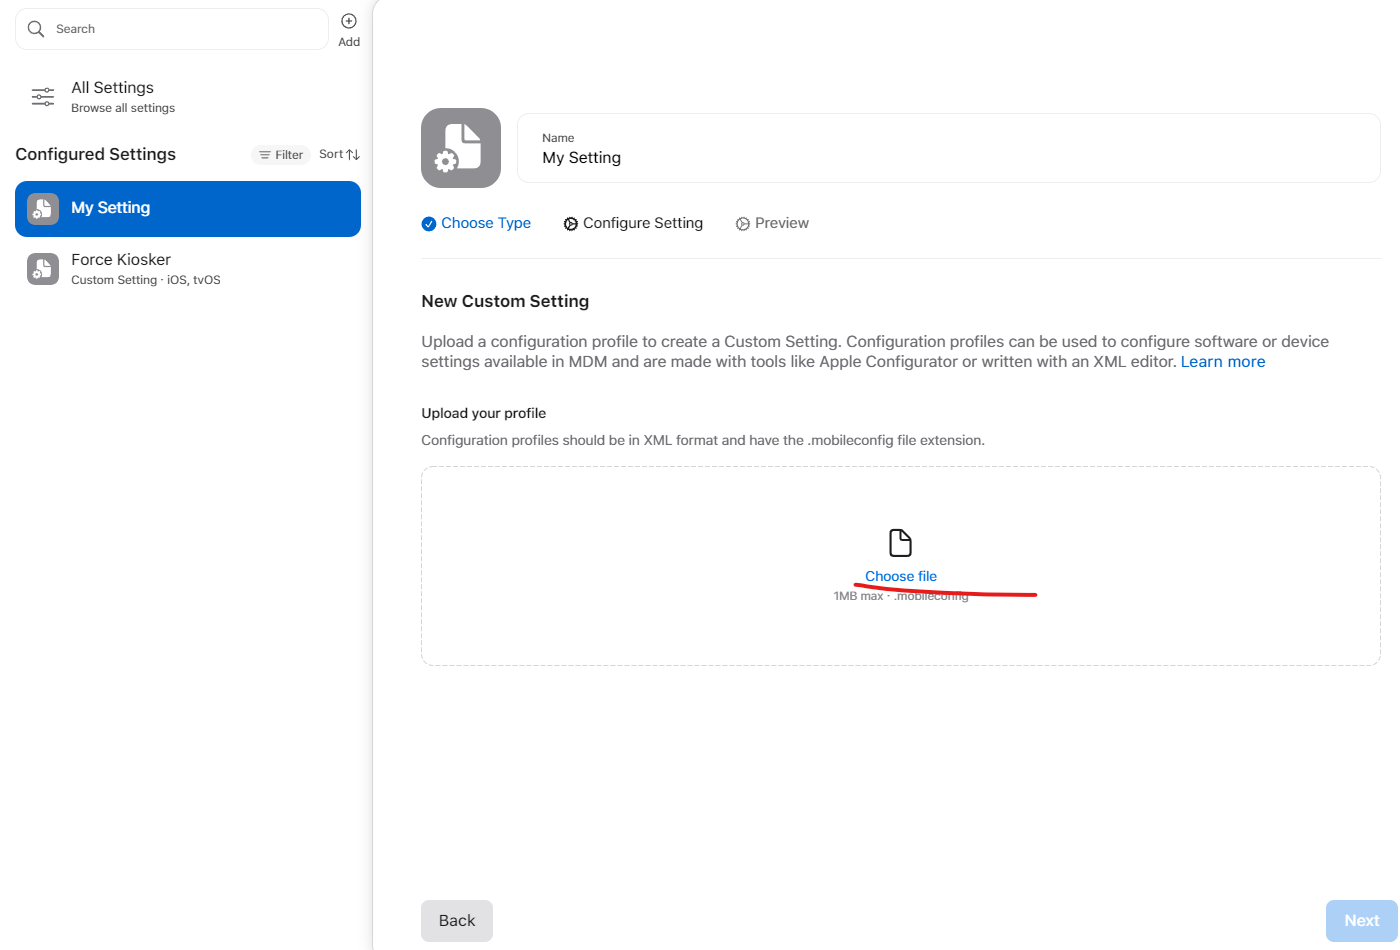
- Upload the Configuration File:
- Select the
applock.mobileconfigfile you created earlier and upload it.
- Select the
Step 6: Assign the Configuration to Devices
- Assign to Devices:
- After creating the configuration, assign it to the relevant devices through collections.
By following these steps, you’ll successfully set up AppLock on your devices using a custom XML configuration. This approach allows you to tailor the device’s functionality to your specific needs, ensuring a secure and controlled environment for your business applications. If you have any questions or run into issues, feel free to reach out for support. Happy configuring!