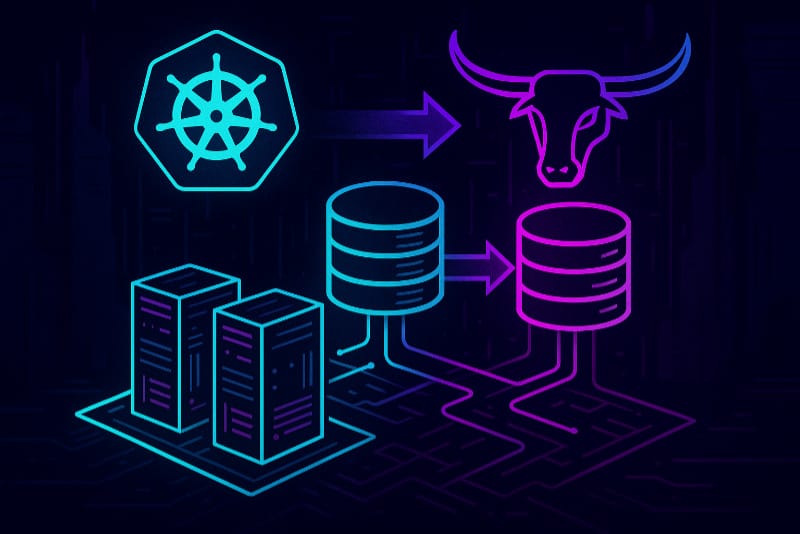
If you’re using k3s in a home lab or production setup, chances are you’ve started with the default local-path storage class. While it’s quick and easy, it has a major downside: volumes are tied to a specific node. If that node fails, your data doesn’t follow your pod.
Longhorn solves this by providing replicated, distributed block storage that works seamlessly with Kubernetes.
In this post, you’ll learn:
- How to install Longhorn on your k3s cluster
- How to create and configure Longhorn-backed PersistentVolumeClaims (PVCs)
- How to migrate your existing data from
local-pathPVCs to Longhorn - How to clean up and finalize your deployment
Step 1: Install Longhorn on Your k3s Cluster
Apply the Longhorn manifest:
kubectl apply -f https://raw.githubusercontent.com/longhorn/longhorn/v1.8.1/deploy/longhorn.yaml
⏳ This may take a minute or two. You can monitor progress with:
kubectl get pods -n longhorn-system
Step 2: Create a Longhorn-backed PVC
Create a new PersistentVolumeClaim (PVC) that uses the longhorn storage class. This will be your target PVC.
pvc-longhorn.yaml
apiVersion: v1
kind: PersistentVolumeClaim
metadata:
  name: my-pvc-longhorn
spec:
  accessModes:
    - ReadWriteOnce
  resources:
    requests:
      storage: 15Gi
  storageClassName: longhorn
Apply it:
kubectl apply -f pvc-longhorn.yaml
Step 3: Scale Down the Deployment
To safely migrate data, scale down the deployment using the original PVC:
kubectl scale deployment <deployment-name> --replicas=0
Step 4: Create a Data Migration Pod
Use a temporary pod to copy data from the old PVC to the new one:
data-migrator.yaml
apiVersion: v1
kind: Pod
metadata:
  name: data-migrator
spec:
  containers:
  - name: rsync
    image: alpine
    command: ["/bin/sh", "-c", "sleep 3600"]
    volumeMounts:
    - name: old
      mountPath: /mnt/old
    - name: new
      mountPath: /mnt/new
  volumes:
  - name: old
    persistentVolumeClaim:
      claimName: my-pvc
  - name: new
    persistentVolumeClaim:
      claimName: my-pvc-longhorn
  restartPolicy: Never
Apply it:
kubectl apply -f data-migrator.yaml
Step 5: Copy the Data
Once the pod is running, exec into it and copy the data:
kubectl exec -it data-migrator -- /bin/sh
# Inside the pod
cp -a /mnt/old/. /mnt/new/
exit
Step 6: Update Your Deployment to Use the New PVC
Update your deployment configuration to reference the new PVC (my-pvc-longhorn):
my-deployment.yaml
apiVersion: apps/v1
kind: Deployment
metadata:
  name: my-deployment
spec:
  replicas: 1
  selector:
    matchLabels:
      app: my-deployment
  template:
    metadata:
      labels:
        app: my-deployment
    spec:
      containers:
      - name: my-deployment
        image: your-image:latest
        volumeMounts:
        - name: data
          mountPath: /app/data  # adjust as needed
      volumes:
      - name: data
        persistentVolumeClaim:
          claimName: my-pvc-longhorn
Apply the changes:
kubectl apply -f my-deployment.yaml
Step 7: Clean Up
Delete the migrator pod and the old PVC:
kubectl delete pod data-migrator
kubectl delete pvc my-pvc
Then scale your deployment back up:
kubectl scale deployment <deployment-name> --replicas=1
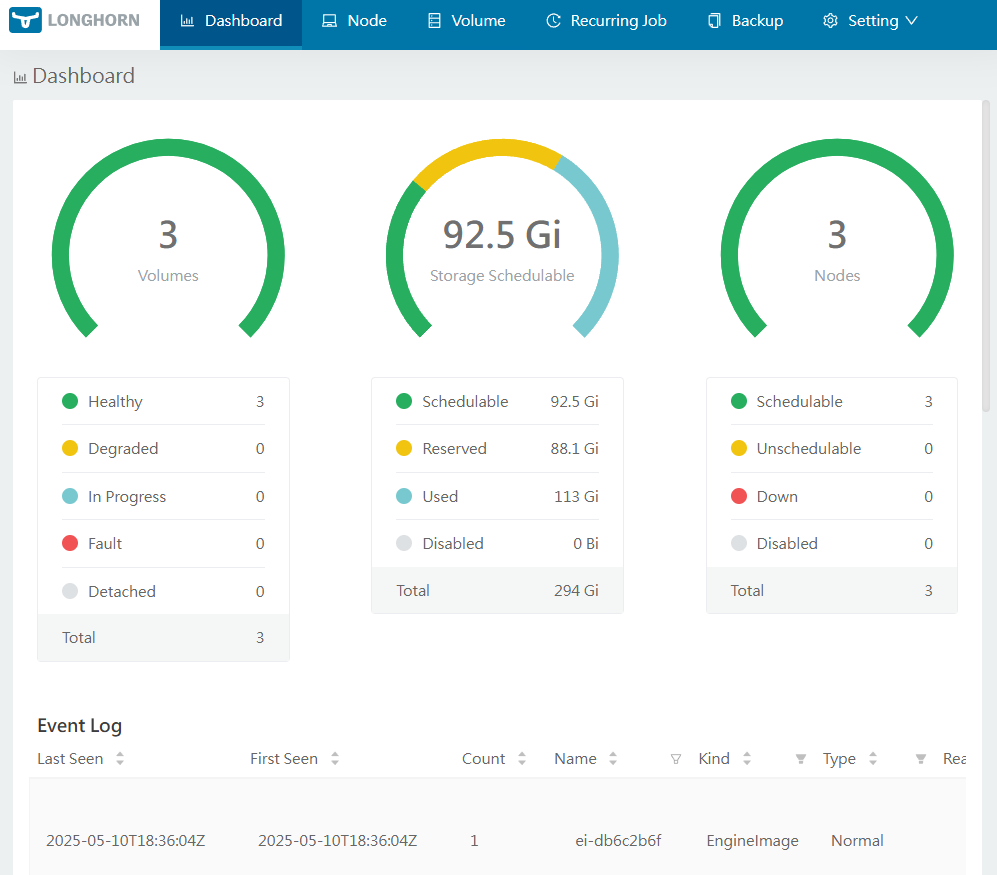
Accessing the Longhorn Dashboard
To view and manage your volumes visually, expose the Longhorn frontend service locally:
kubectl port-forward -n longhorn-system service/longhorn-frontend 8080:80
Now visit:
? http://localhost:8080
Tips & Notes
- Make sure your nodes have sufficient disk space before migration.
- You can customize replication factor and node scheduling in the Longhorn UI.
- Use Longhorn backups or snapshots to protect critical data.
Conclusion
Migrating from local-path to Longhorn in k3s isn’t hard—but it’s a crucial step if you’re running apps you care about. You’ll gain resiliency, flexibility, and centralized management of your volumes.
Have questions or want to automate this process?
Let me know in the comments