


Running the DeepSeek AI model on a Windows machine is straightforward and brings advanced AI capabilities to your desktop. This guide will walk you through the setup process, from installing Ollama to running DeepSeek and exploring optional enhancements with Open WebUI.
Prerequisites
- Windows 10 or Later: Ensure your machine is running at least Windows 10.
- Recommended Hardware: While DeepSeek can run without a dedicated GPU, having one will significantly improve performance.
Step 1: Install Ollama
- Download Ollama:
- Go to Ollama’s official website.
- Click “Download for Windows” and save the installer.
- Run the Installer:
- Launch the downloaded setup file and follow the on-screen instructions to install Ollama.
- Open PowerShell or Terminal:
- Restart PowerShell or Terminal if it’s already running.
- Shortcut: Win + X → Select PowerShell or Terminal.
- Verify Installation:
- Run the following command to ensure Ollama is installed:
ollama --version
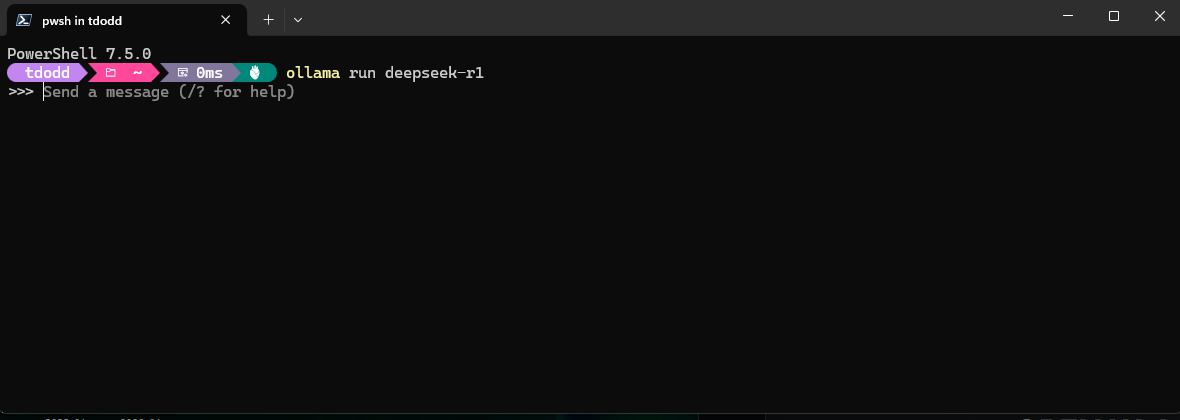
Step 2: Run DeepSeek-R1
Run the Model:
ollama run deepseek-r1:1.5b
For machines with less than 16GB of RAM, use the smaller model:
ollama run deepseek-r1:1.5b
Interact with the Model:
- Once the model is running, you can start asking it questions.
- Use the
/?command to view available options and features. - If you encounter any issues, use the
/clearcommand to reset the session context.
Step 3: Optional - Enhance with Open WebUI
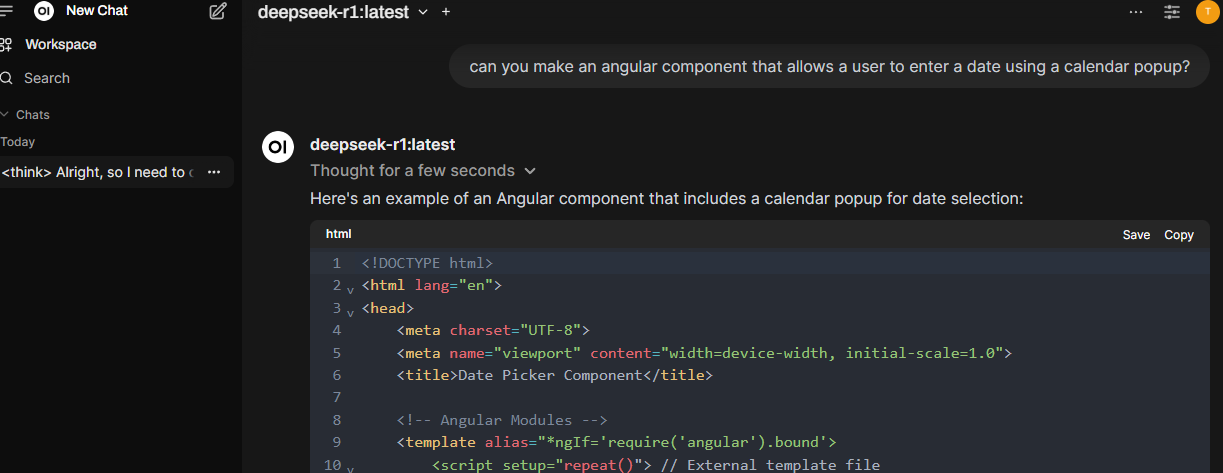
If you want a sleek web-based interface for managing your AI models, you can integrate Open WebUI, a feature-rich self-hosted AI platform.
Setting Up Open WebUI
Install Docker Desktop
- Download Docker Desktop:
- Visit Docker Desktop’s official page and download the installer for Windows.
- Run the Installer:
- Launch the
.exefile and follow the setup instructions. - When prompted, ensure “Use WSL2 instead of Hyper-V” is selected (recommended for most users).
- Launch the
- Enable WSL2:
- If WSL2 isn’t already enabled, Docker Desktop will guide you through the process.
- This installs the WSL2 backend and a default Ubuntu distribution.
- Finish Setup:
- Launch Docker Desktop and sign in with your Docker Hub account.
- Under Settings → General, ensure WSL2 is selected as the backend.
Alternatively, you can enable it manually:
wsl --install
Run Open WebUI
1.Pull and Run the Docker Image:
- Open PowerShell or Terminal and run the following command:
docker run -d -p 3000:8080 --add-host=host.docker.internal:host-gateway -v open-webui:/app/backend/data --name open-webui --restart always ghcr.io/open-webui/open-webui:main
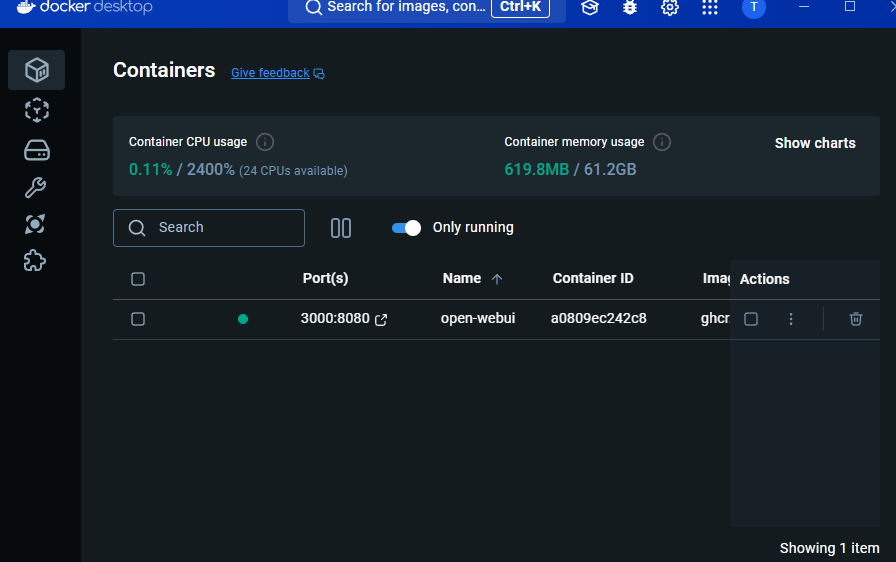
2.Access Open WebUI:
- Open your web browser and go to:
http://localhost:3000/
It may take a few moments for the Docker container to initialize.
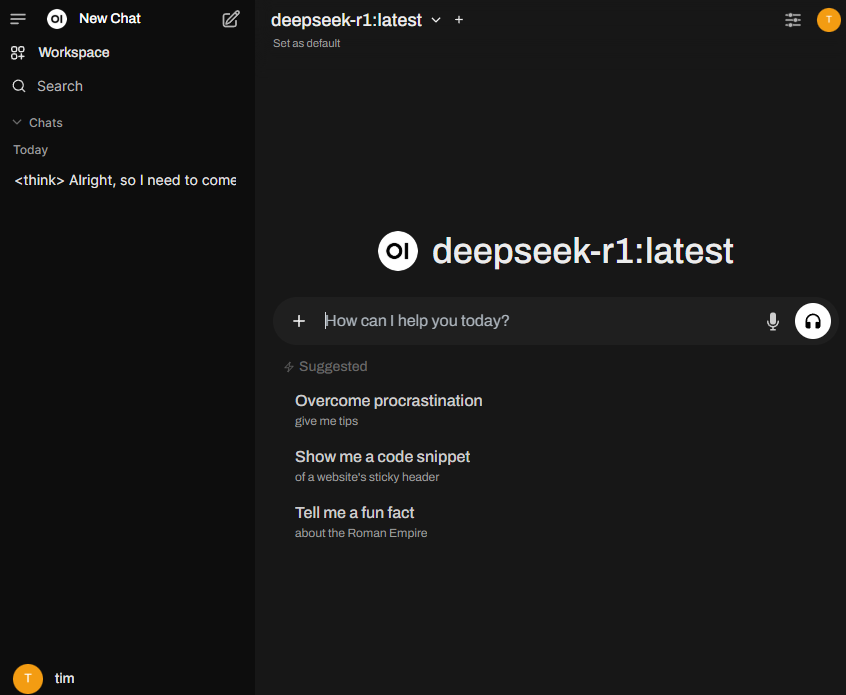
3.Add DeepSeek-R1:
- Once Open WebUI is running, DeepSeek-R1 should already be installed if you followed the previous steps.
- If not, click the + button at the top of the interface to add the model.
Hardware for Ollama
If you’re looking for budget-friendly hardware to run Ollama efficiently, check out my latest post for the best GPU recommendations!
 Tim Dodd
Final Thoughts
Running DeepSeek on a Windows machine unlocks powerful AI capabilities without requiring specialized hardware. With tools like Ollama and Open WebUI, you can easily manage and interact with advanced language models, making AI experimentation accessible and fun.
Have questions or ideas? Drop a comment below